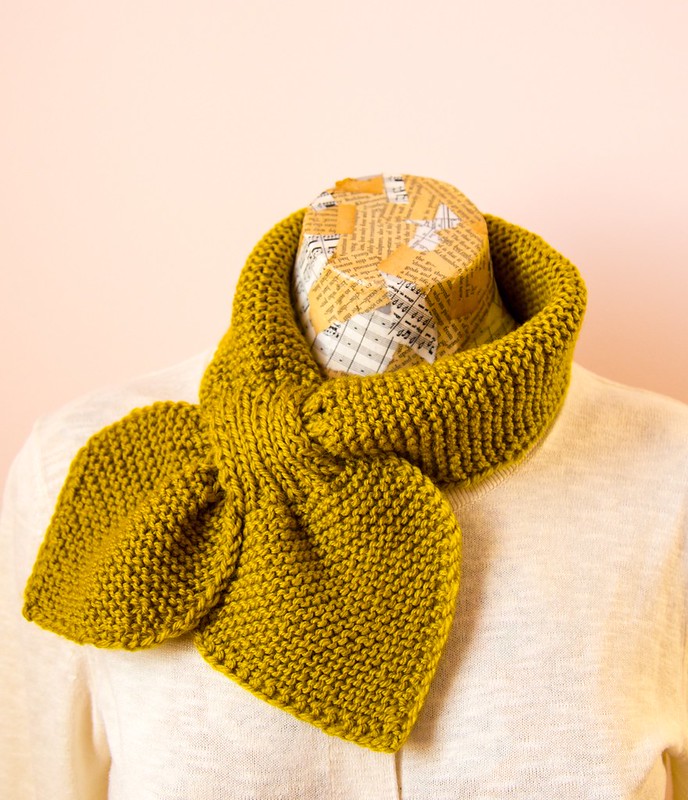
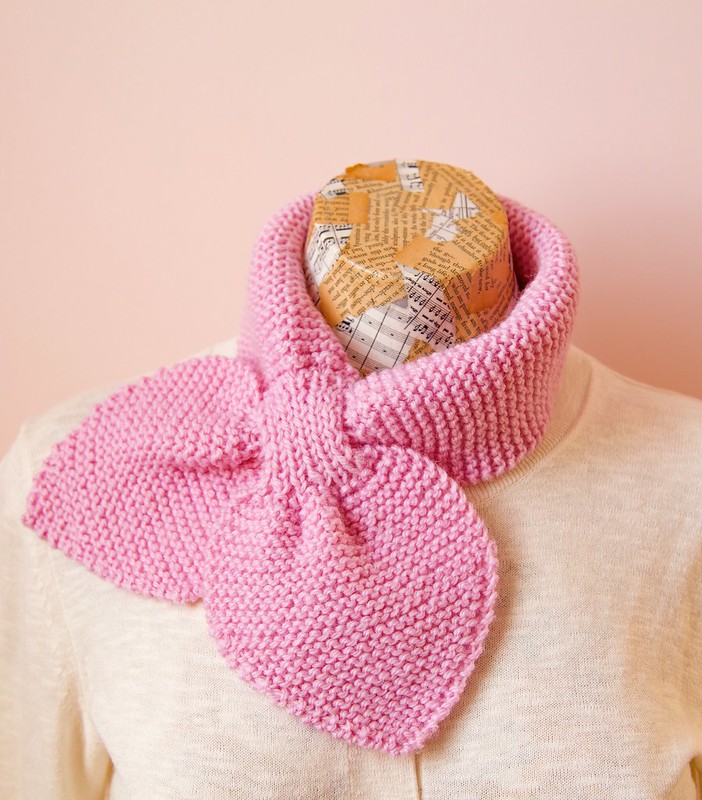
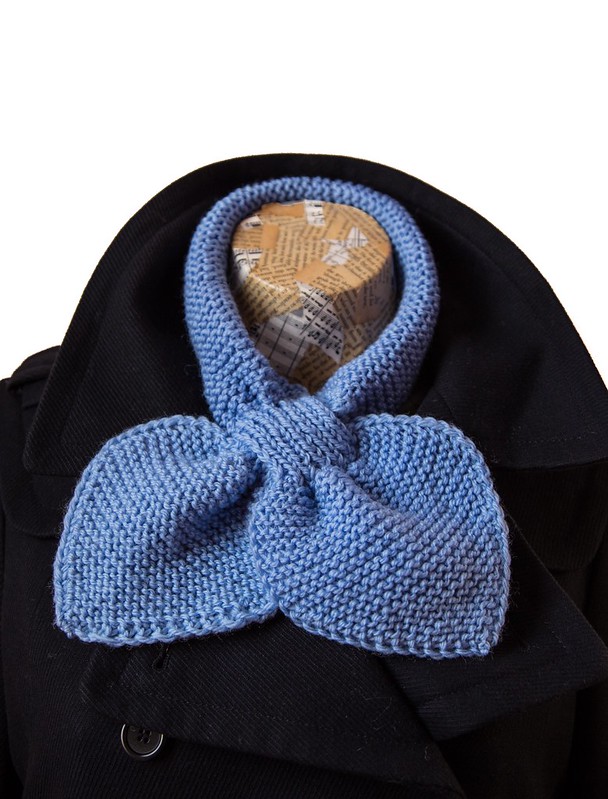
This half Ascot scarf is featured with a keyhole to secure the other end of the scarf that resembles a bow tie look. It can be worn in different way as a scarf tucked neatly into your coat to keep your neck warm, or a fun fashionable side scarf over a cardigan, or a headband doubled as ear warmers.
Difficulty level: Easy - Tension is not important for this project. The required basic stitches are knit, purl, slip stitches and make a new stitch, and of course knowing how to cast on and bind off.
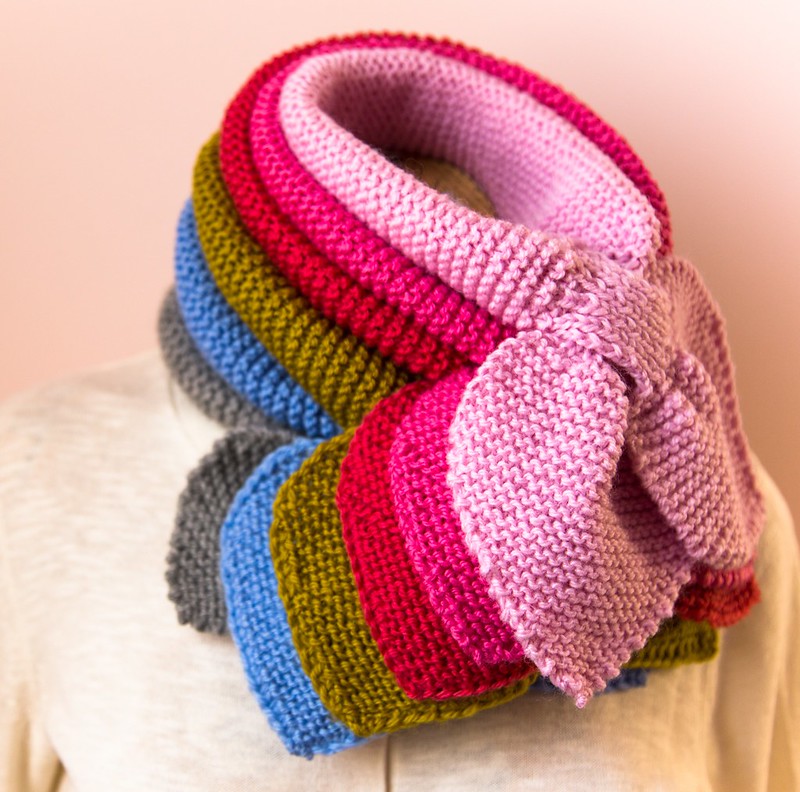
Yarn required: one 100g 8ply skein. This scarf is the perfect one skein project. For these scarves, I used the 100% Australian wool, Country 8ply Cleckheaton.
Needle size: Pair of 4.5mm knitting needles, or 4.5mm circular needle (80cm or 30in length).
Start at tip
First heart shape: Cast on 2 sts
Row 1: K1, M1, K1
Row 2: Slip 1, M1, knit to end
Repeat the 2nd row till there are 28 stitches. (Note: you'll reach 28 stitches at Row 14)
Rows 15-26: Slip 1, knit to the end... the first heart shape is formed.
Create the keyhole/loop opening
Next row: *K1, slip next st onto a stitch holder, repear from * to end... 14 stitches on stitch holder and 14 stitches on needle.
Working on 14 needle sts only by 1x1 ribbing (K1,P1) for 15 rows. Then slip 14 sts onto a spare needle.
Now working on other 14 needle sts by 1x1 ribbing (K1,P1) for 15 rows.
Close loop: Knit one st from each needle alternately. There are 28 sts.
Length of the scarf: Knit 2 sts together (to decrease), knit till the last 2 sts, knit 2 last sts together. There are 26 sts (4.5" wide). Continue in garter stitch to your desired length, mine is about 16" long from the loop opening to the close loop.
Pull-through section: K1, knit 2 sts together till the end, there are 14 sts. Then knit 15 rows in 1x1 ribbing (K1, P1).
The other heart shape:The next row: K1,M1 till the end. There will be 28 sts. Then *Slip 1, knit the remaining 27 sts. Repeat from * for 11 rows.
The next 14 rows: decrease by 1 st from the beginning of each row. This is to form the tip at the other end of the scarf.
No comments:
Post a Comment